In this article, we will learn how to use a custom dockerfile as the bases for a customised Azure DevOps build agent. There are many reasons why you might want to do this, including running custom tooling that takes a while to setup or tooling that isn’t supported yet.
TL;DR
You need to this Dockerfile snippet:
FROM microsoft/vsts-agent:ubuntu-16.04

# Install your stuff here

CMD /bin/sh
And this azure-pipelines.yml snippet:
resources:
    containers:
    - container: octodns
        image: im5tu/octodns:latest

container: octodns

steps:
# Your steps go here
Starting with a Dockerfile
In order to use a custom image as part of the build process, we need to start off with a shell of a docker file. Microsoft have graciously given us a series of base images to start from. You can find them here. For this article, I will use the ubuntu-16.04 release.
In the repository of your choice, create a file called Dockerfile. Note that the name is case sensitive because of the docker builds that we will do later on. I found this out the hard way, and if you’ve made the mistake too - run the following command to reset it within git: git mv -f dockerfile Dockerfile
At the top of the Dockerfile, start off with the following:
FROM microsoft/vsts-agent:ubuntu-16.04
During the build, this will instruct docker to pull the image called vsts-agent tagged with ubuntu-16.04 from the user microsoft.
Then at the bottom of the Dockerfile, place the following line:
CMD /bin/sh
This instructs the built image to leave a command prompt as the entrypoint so that we can run the rest of our scripts.
A note on the base image choice
I did initially try experimenting with an Alpine base image, but there seems to be some requirements around what the image contains. Unfortunately, I don’t know what the requirements are/I haven’t gone to figure them out. If you want to, feel free to browse the dockerfiles here to see what’s required, but I would just stick with the hosted images supplied by Microsoft as your base.
Building with DockerHub
If your repository is hosted on either Bitbucket or Github, you can get your docker image built and hosted for free by Docker. In order to do this, you need to link either your Github or Bitbucket account from the following page: https://cloud.docker.com/u/<your user id>/settings
Once that is complete, if you navigate to the page https://cloud.docker.com/repository/create you should see the following:
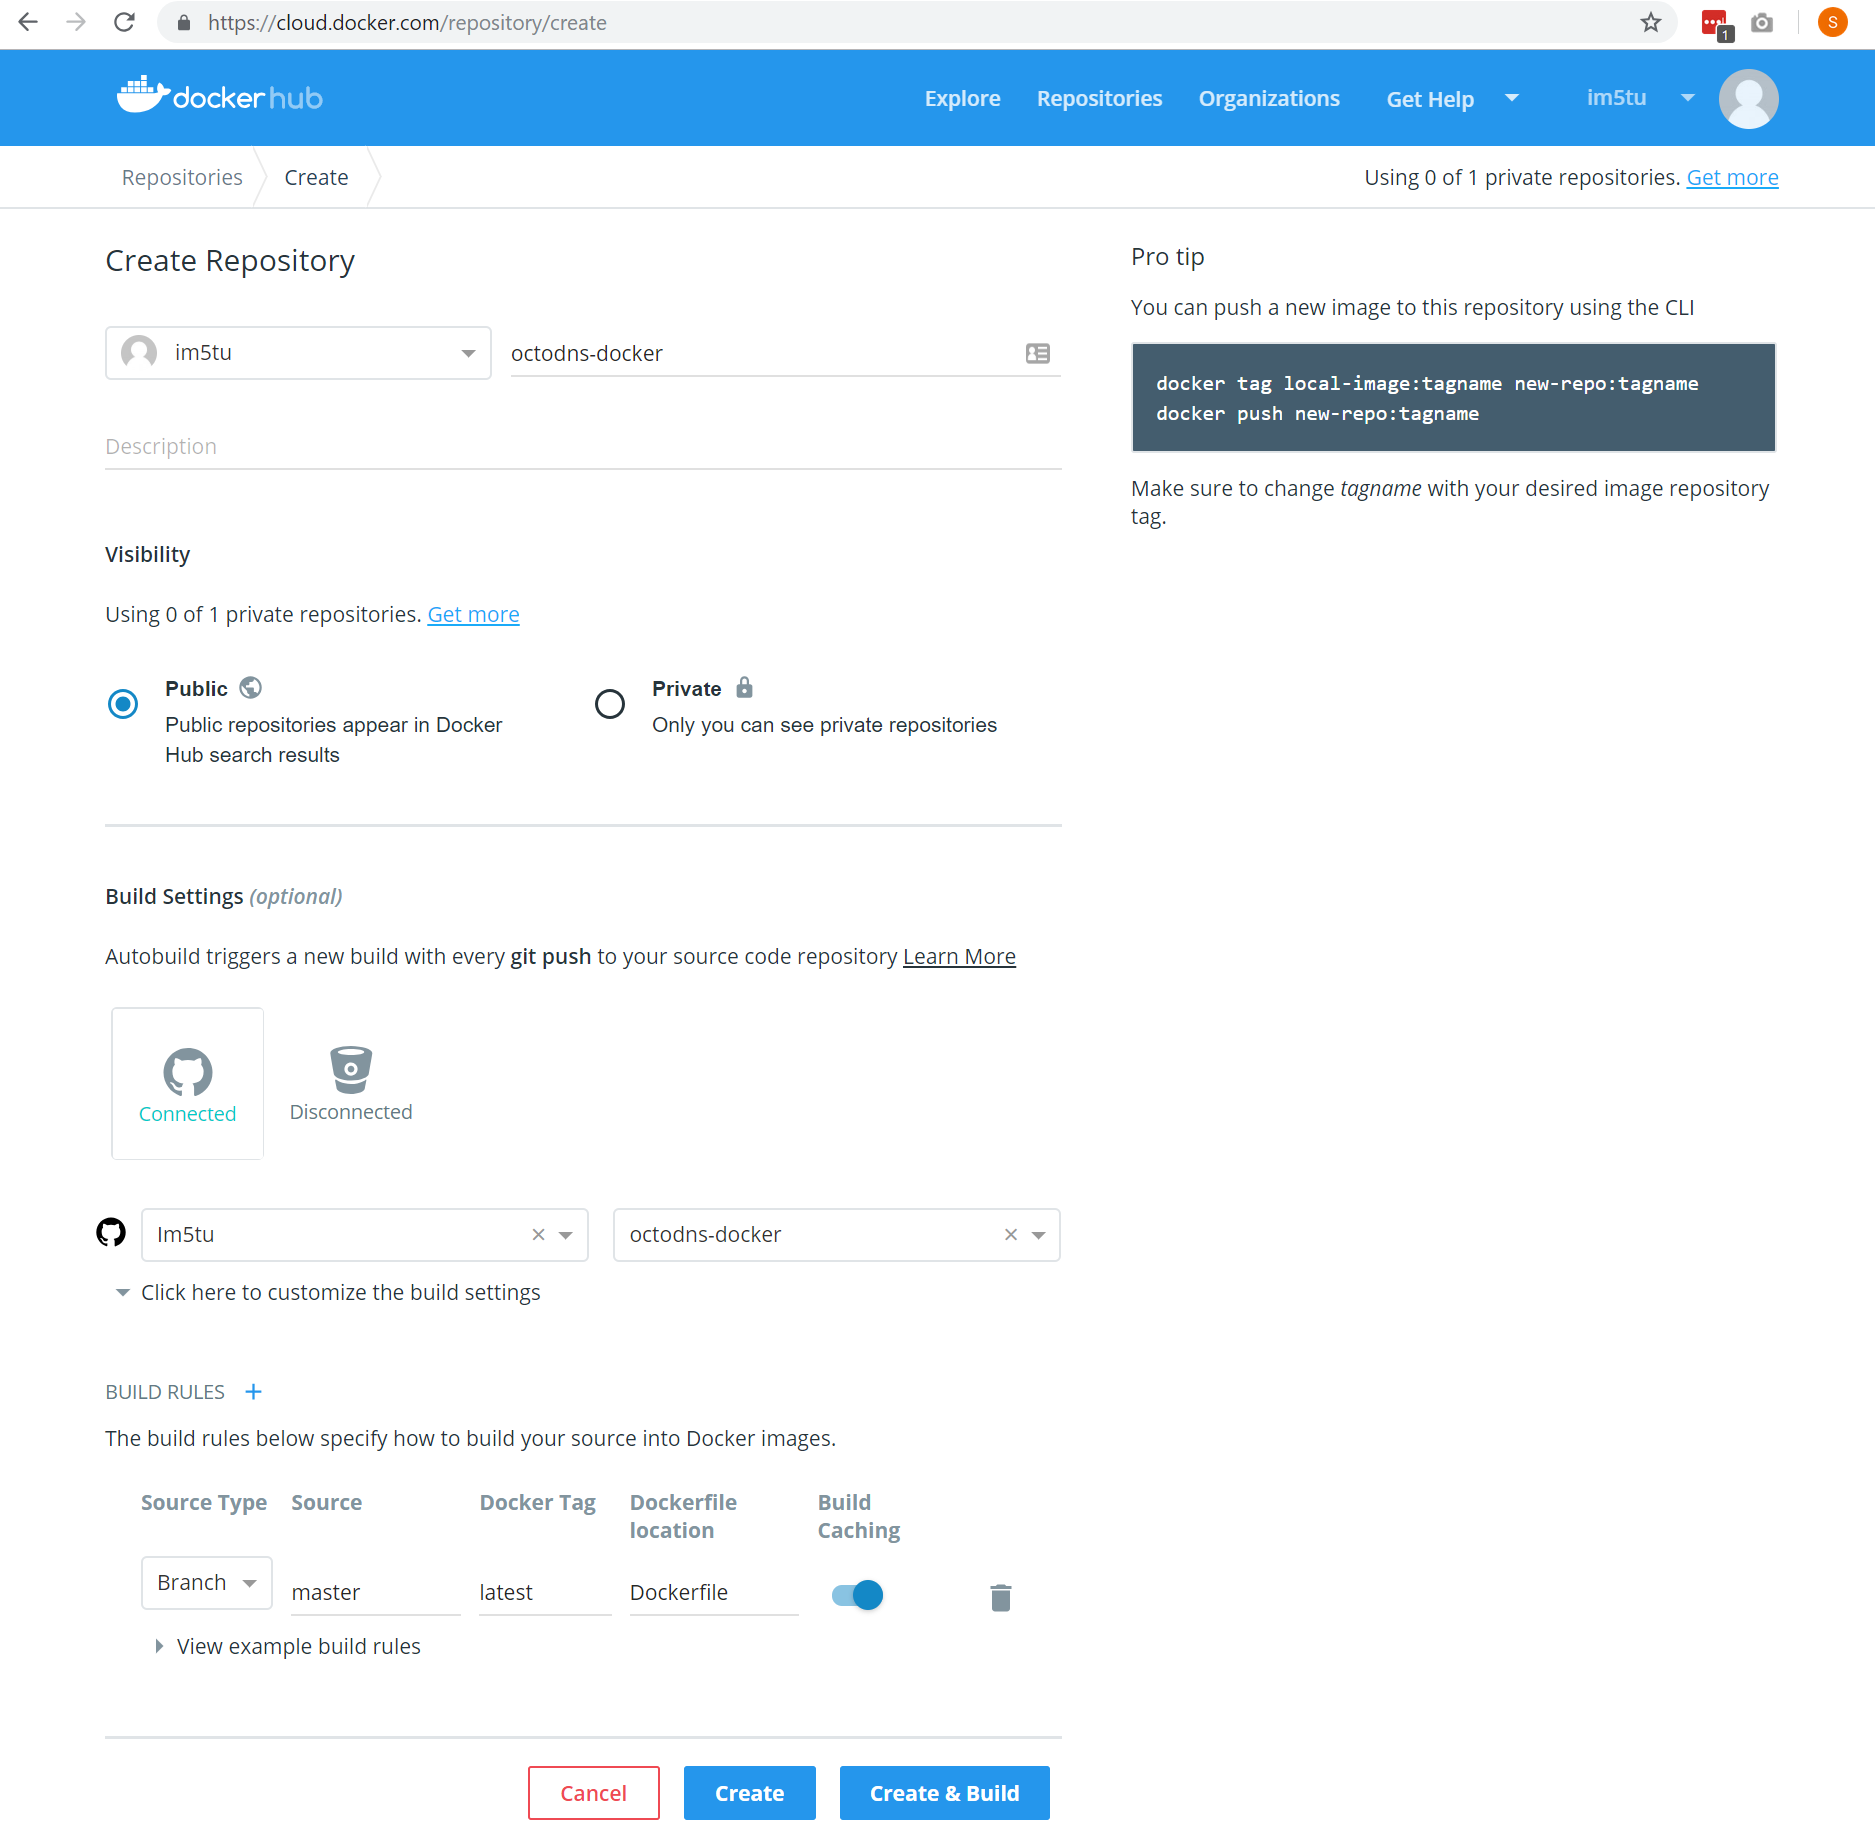
From here we can create a link to our hosted repository and setup a build that is associated with the repository.
Existing repositories
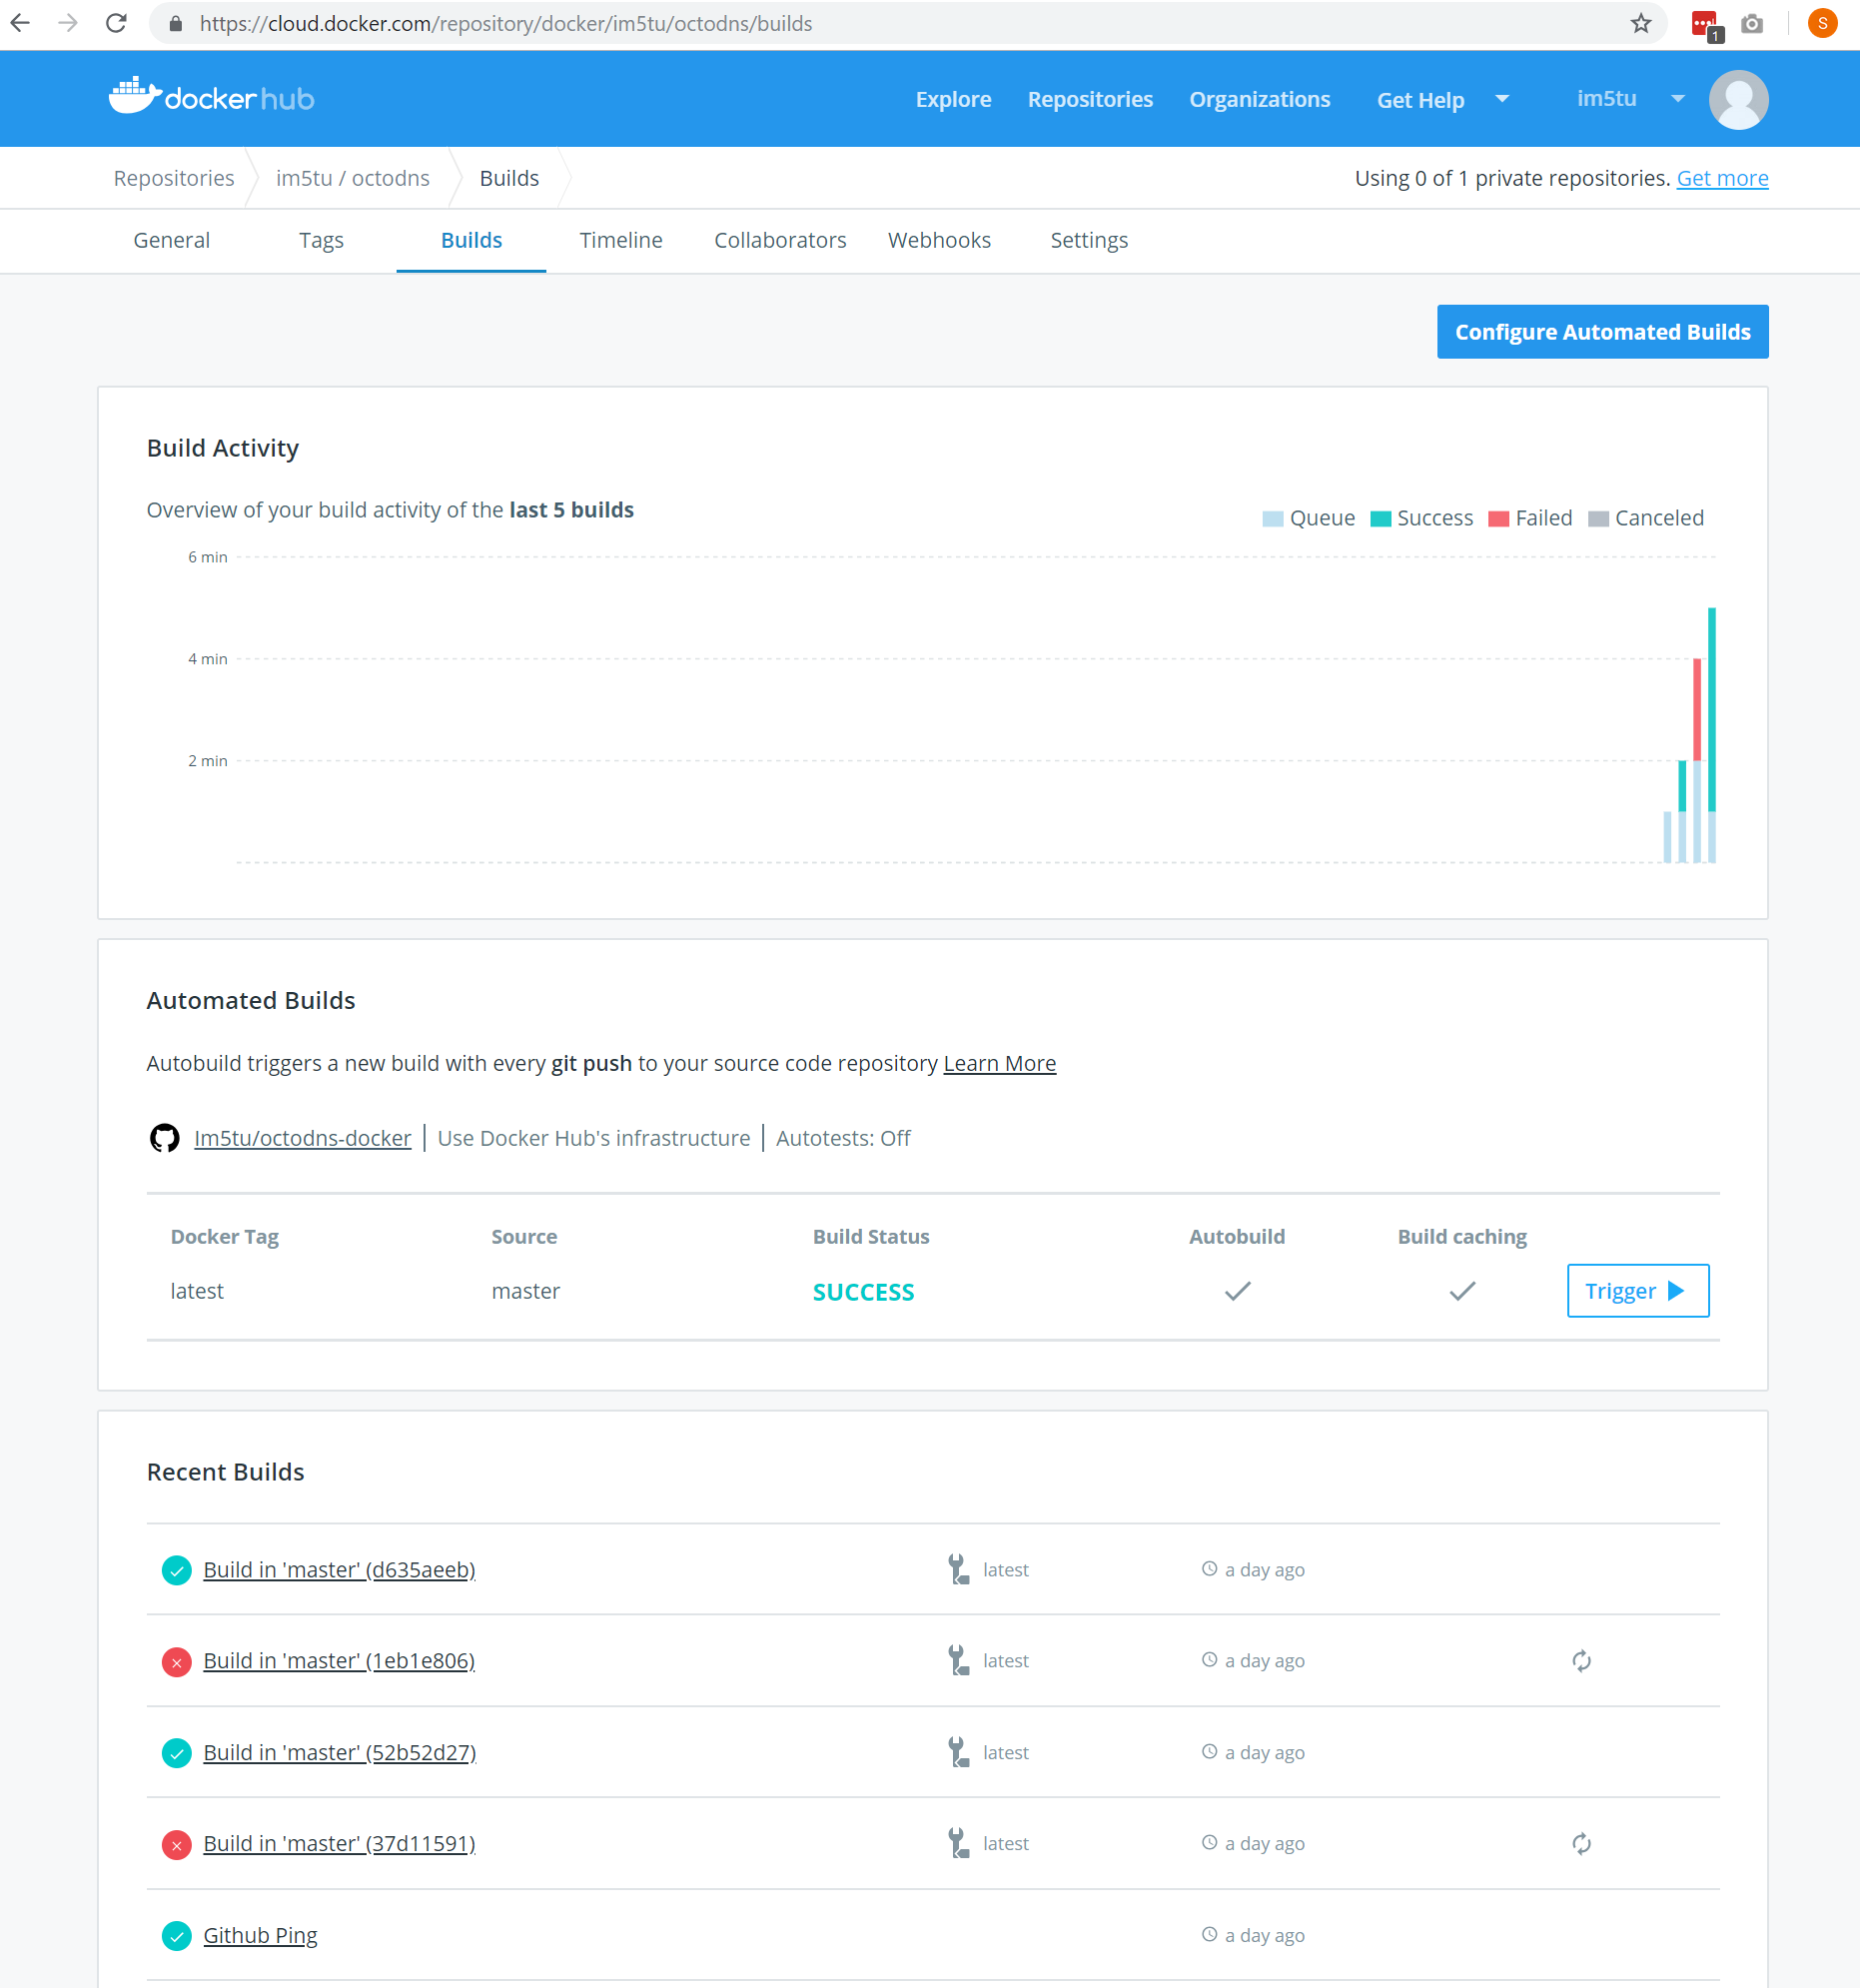
If you need to edit an existing repository or build, you can do that from the following page: https://cloud.docker.com/repository/docker/<user id>/<repo name>/builds
Using the Dockerfile in a Azure DevOps pipeline
Once the build agent has successfully built, we can start to create our azure-pipelines.yml file around the new custom container. Above the steps section of the file, add the following snippet:
resources:
    containers:
    - container: <name>
        image: <user id>/<repo name>:<tag>

container: <name>
Which, when populated looks like the following:
resources:
    containers:
    - container: octodns
        image: im5tu/octodns:latest

container: octodns
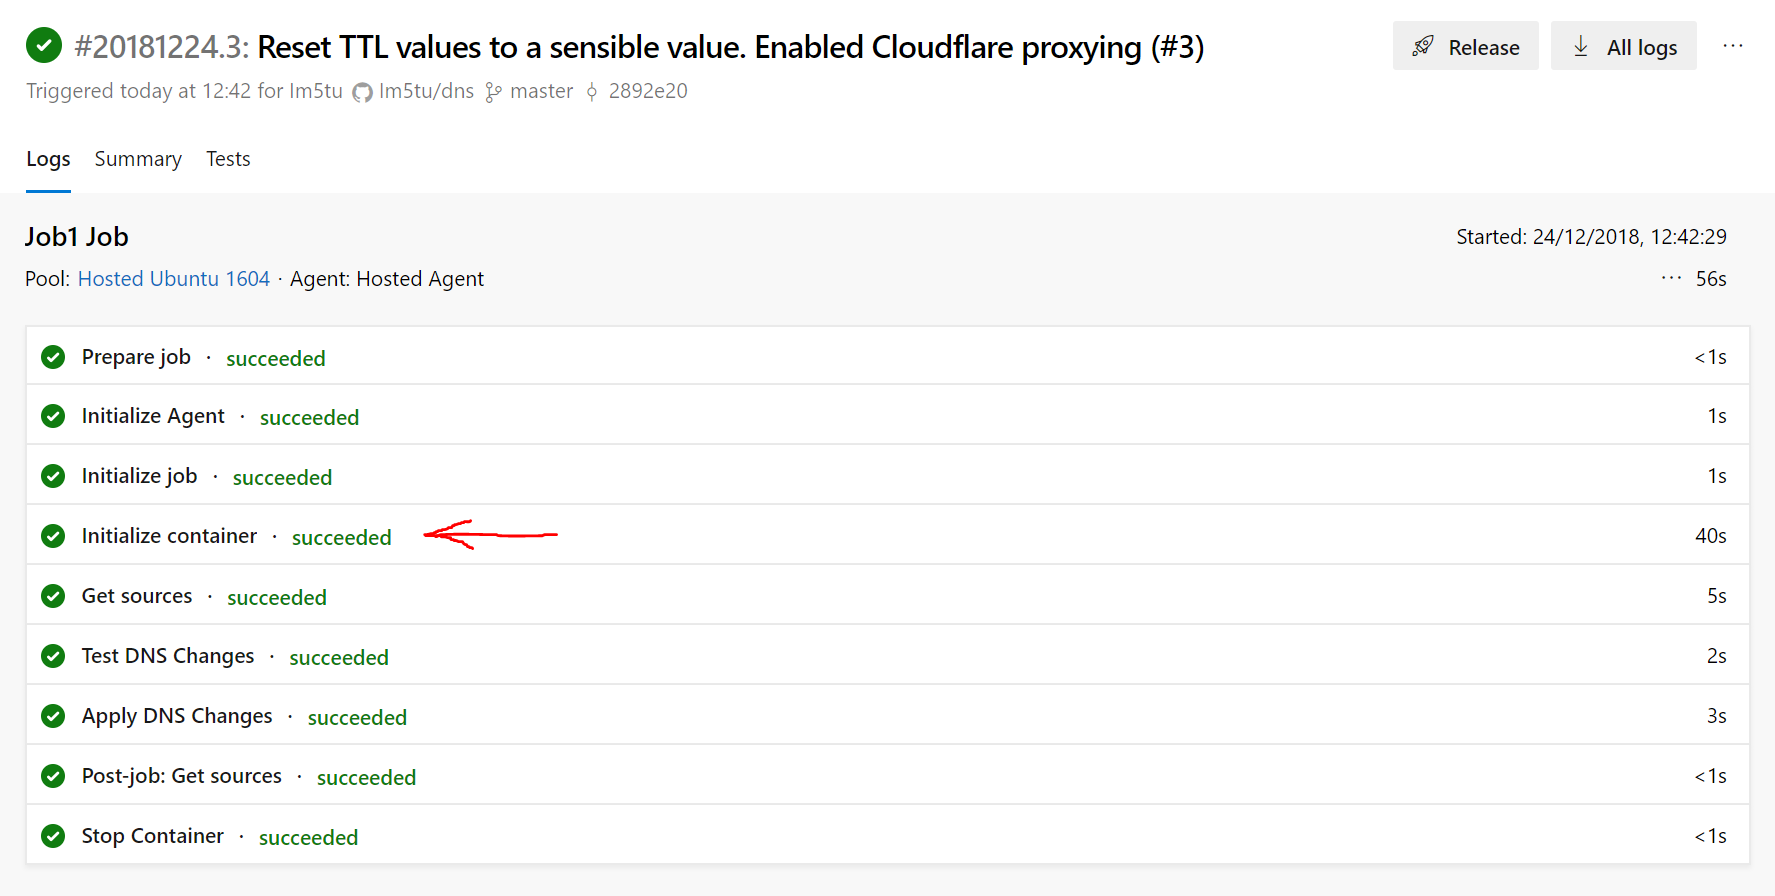
That’s it, you should now have a functioning customised Azure DevOps build agent. After that you can play with any additional steps, triggers, variables or what ever your heart desires. Here’s what it looks like when it’s running instead of Azure DevOps (with the container initialization step highlighted):
To view the Dockerfile that I am currently using as a custom agent, go here.
To view the full usage of the docker file that I am using, go here.